Sunday, March 29, 2015

A fun little card I made to put a smile on your face

 
   I made this card almost one and a half years ago. I just found out I can post it. It was published in Just Cards. It is a fun card I already have plans for someone who is going through a tough time.
   I used Raisin Boat stamps Just add Love stamp set I used momento ink and Copic markers.I bent the words to have a fun curve. I added the black and white gingham bow to finish it off.
    I hope you like it. It was fun to get the the magazine in the mail after the week we had with our furnace going out ( we live in Wisconsin) and we had spring break with snow!! I had lots of prom dress's come in for fittings as well as brides so I was glad I had electric heat in my shop.
    Have a nice Easter if I don't get a chance to post anything new this week.
Donna
" When I stand before God at the end of my life, I hope that I would not have a single bit of talent left, and I could say,"I used everything you gave me" Erma Bombeck Writer

Friday, March 20, 2015

Embossing folder techniques Chalk technique with embossing folders

 
I used JustRite Grand Birthday sentiments stamps for the saying as well as 2 other stamps of theirs for this card.

For this card I used a JustRite stamp from their set Christmas Antique Labels one.

For this card I used a JustRite stamp from the set Grand Birthday Sentiments.
I used a white craft ink  and a sponge dauber to apply the ink in a gentle circular motion. 

Close up of how it looks when the white ink is applied to the embossed surface.
 I played around with some of my embossing folders that had open areas that might be nice to add a saying that I could incorporate the chalk board technique where you stamp and heat emboss with white embossing powder on black paper and then lightly rub the white ink around to give the look of an old chalk board. I took this a step farther and embossed my mat or card front ( how ever you want to look at it) using black card stock and then lightly rubbed white ink on it to mimic the look of a chalk board. I like how this turned out. It is a nice look for a man or a woman's card.
   I hope you like what you have learned with me on my journey of ways to use your embossing folders. My demo is tomorrow,I hope to get a few more ideas done but not sure if I will get them posted for a few days. Wish me luck. I look forward to spending time with over 40 creative ladies that have been getting together for 10 years now for a weekend of paper playing fun.
   Donna
" When I stand before God at the end of my life, I hope that I would not have a single bit of talent left, and I could say,"I used everything you gave me" Erma Bombeck Writer

Tuesday, March 10, 2015

My adventures with embossing folders post #5 Inking the embossing folder

I embossed the white card stock with a lavender ink ( ink on the raised side) and then cut out the card into an egg shape. I added the sheer ribbon and the small die cut bunny ( amuse die).

This card is made from 2 attempts of playing with how much ink to put on the embossing folder. The top has less ink and the bottom has more. I like the way the impression really stands out on this card.


This picture is of an embossing folder that has been inked with a brayer on the debossing side or the smooth side.

This is a picture of the embossing side of the embossing folder that has been inked with a brayer.

These are the finished embossed papers. One is with ink on the embossed side ( blue stars) the other is the debossed blue inked side.
 I found that Versa Color Ink worked the best for me when trying this technique where I put the ink directly on the embossing folder.I found I  had the best luck when I lightly rubbed the ink on the embossing folder then tapped it all over the folder. It seemed to give me a more even coverage. I used this technique for embossing and debossing. Embossing is when you put the ink on the raised side of the embossing folder. Debossing is when you put the ink on the smooth side or grooved out side of the embossing folder.
  I hope this has been a tutorial that taught you something new or gets you to do a technique you have not used in a while. Thanks for stopping in.
   Donna
" When I stand before God at the end of my life, I hope that I would not have a single bit of talent left, and I could say,"I used everything you gave me" Erma Bombeck Writer

Friday, March 6, 2015

A Pretty blue flower background

   
A quick post of a card I did for Mod Squad challenge blog background challenge. I used JustRite stamps and copic markers to color them. I went at a diagonal design to fill in the card.
  Thanks for stopping.Back tomorrow with more Embossing folder techniques.
Donna
" When I stand before God at the end of my life, I hope that I would not have a single bit of talent left, and I could say,"I used everything you gave me" Erma Bombeck Writer

Embossing folder techniques round 4 Viva 3-D stamp paint

I used black paper and a silver paint.

Here are some samples of papers I did with black and brown card stock and gold and silver and maybe even a green metallic paint. Note that this is the sponge dauber I used. Be sure to wash out with soap and water before the paint drys on the sponge.
I used black paper and a silver and gold metallic paint. I rubbed the torn edge of my embossed and painted paper with versa mark ink and them embossed it with the same pewter embossing powder I did my elephant with. Note I colored the elephant with a darker grey copic marker to help define it more on the gold metallic paper.

This is another card I did with the embossed painted card stock as a background for this bike.

     My friends over at Raisin Boat stamps had a demo last year using this new 3-D stamp-paint byViva they found and I loved how it looked. This same event I am doing a demo on ways to use your embossing folders.So here is my take on this technique.
   Start by embossing your paper.Play with colored papers like black or dark brown. I love the look with the metallic paints on top of the dark colors. That is what I have for samples on this post.
    Now that you have your paper embossed load a small amount of the 3-D stamp paint on a dauber on the edge. Then slowly and gently rub it onto the embossed paper with a a circular motion until you cover your paper. Feel free to dip into another color and blend it right on top or leaving some of the other color show through in some areas. This paint drys so fast it is amazing. I found it was fun to do this with a friend and we just kept playing with different color combinations and textures of embossing folders. It really is that easy to add a fantastic metallic look to your plain card stock.Remember a little goes a long way.
  I bought my paints from Raisin Boat and I have a link for you to go to the paints on their sight.I hope you enjoyed exploring this fun unique technique with me.Thanks for stopping in on my adventures of what to do with embossing folders.
   I will be entering this in the Mod Squad challenge Blogs background challenge.
Donna

" When I stand before God at the end of my life, I hope that I would not have a single bit of talent left, and I could say,"I used everything you gave me" Erma Bombeck Writer

Wednesday, March 4, 2015

Embossing folder ideas round 3 embossing with velum

Use the finger daubers to rub the ink on the back under the flowers.
I used a glue pen to apply the glue inside the flower petals and then added the fine glitter.

Close up of glittered areas on the embossed velum.

Embossed Easter Egg card

Close up of embossed pearl velum
    I played with embossing velum and found you need a weight of velum that is not too thin or too thick.Too thin cuts through and cracks.Too thick you can't see your color through if you color on the back side.I did find just the right weigh pearl finish velum that I had in my stash and I love it!
    I dug through my embossing folders and found a fun Easter Egg one that was so fun to work with. I embossed it with some of my pearl velum.I then used my finger daubers to rub ink on the backside where the eggs were. You can see through easily as to where to but your ink.This was a fast and fun card for Easter. I attached it to the light ivory card after I tied a bow from a sheer organdy ribbon for a bit of interest on the card.


I used the fantastix to color in the smaller holly leaves and berry's.They work great for small area's.


I hope you learned a tip or two on embossing velum and what to do after you do.This was a fun one for me to play with.Thanks for stopping in and learning with me as I prepare for my demo on ways to used embossing folders. I will be entering this in the background challenge at Mod Squad challenge blog.
Donna

" When I stand before God at the end of my life, I hope that I would not have a single bit of talent left, and I could say,"I used everything you gave me" Erma Bombeck Writer

Tuesday, March 3, 2015

Ways to use your Embossing folders round 2

I used a pink and brown color core paper for this card. I also used a Raisin Boat stamp called All the right words it has some nice larger sentiment is the set.

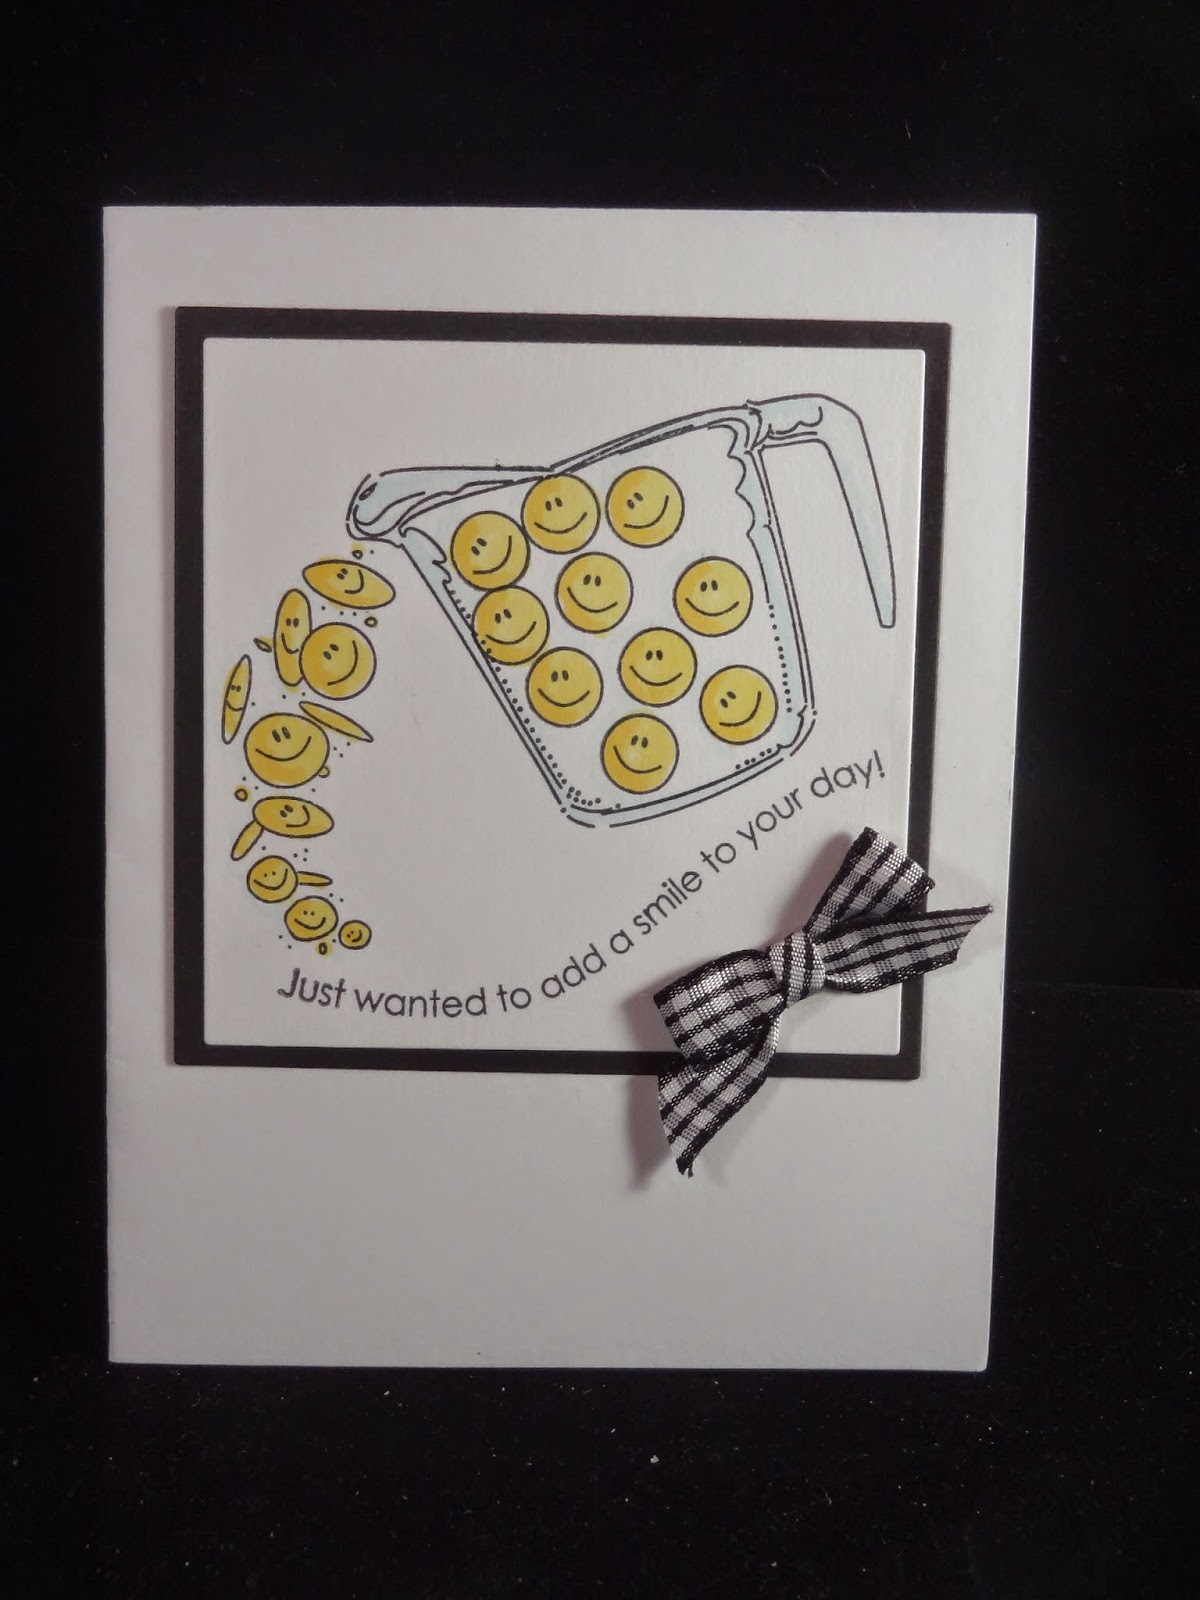
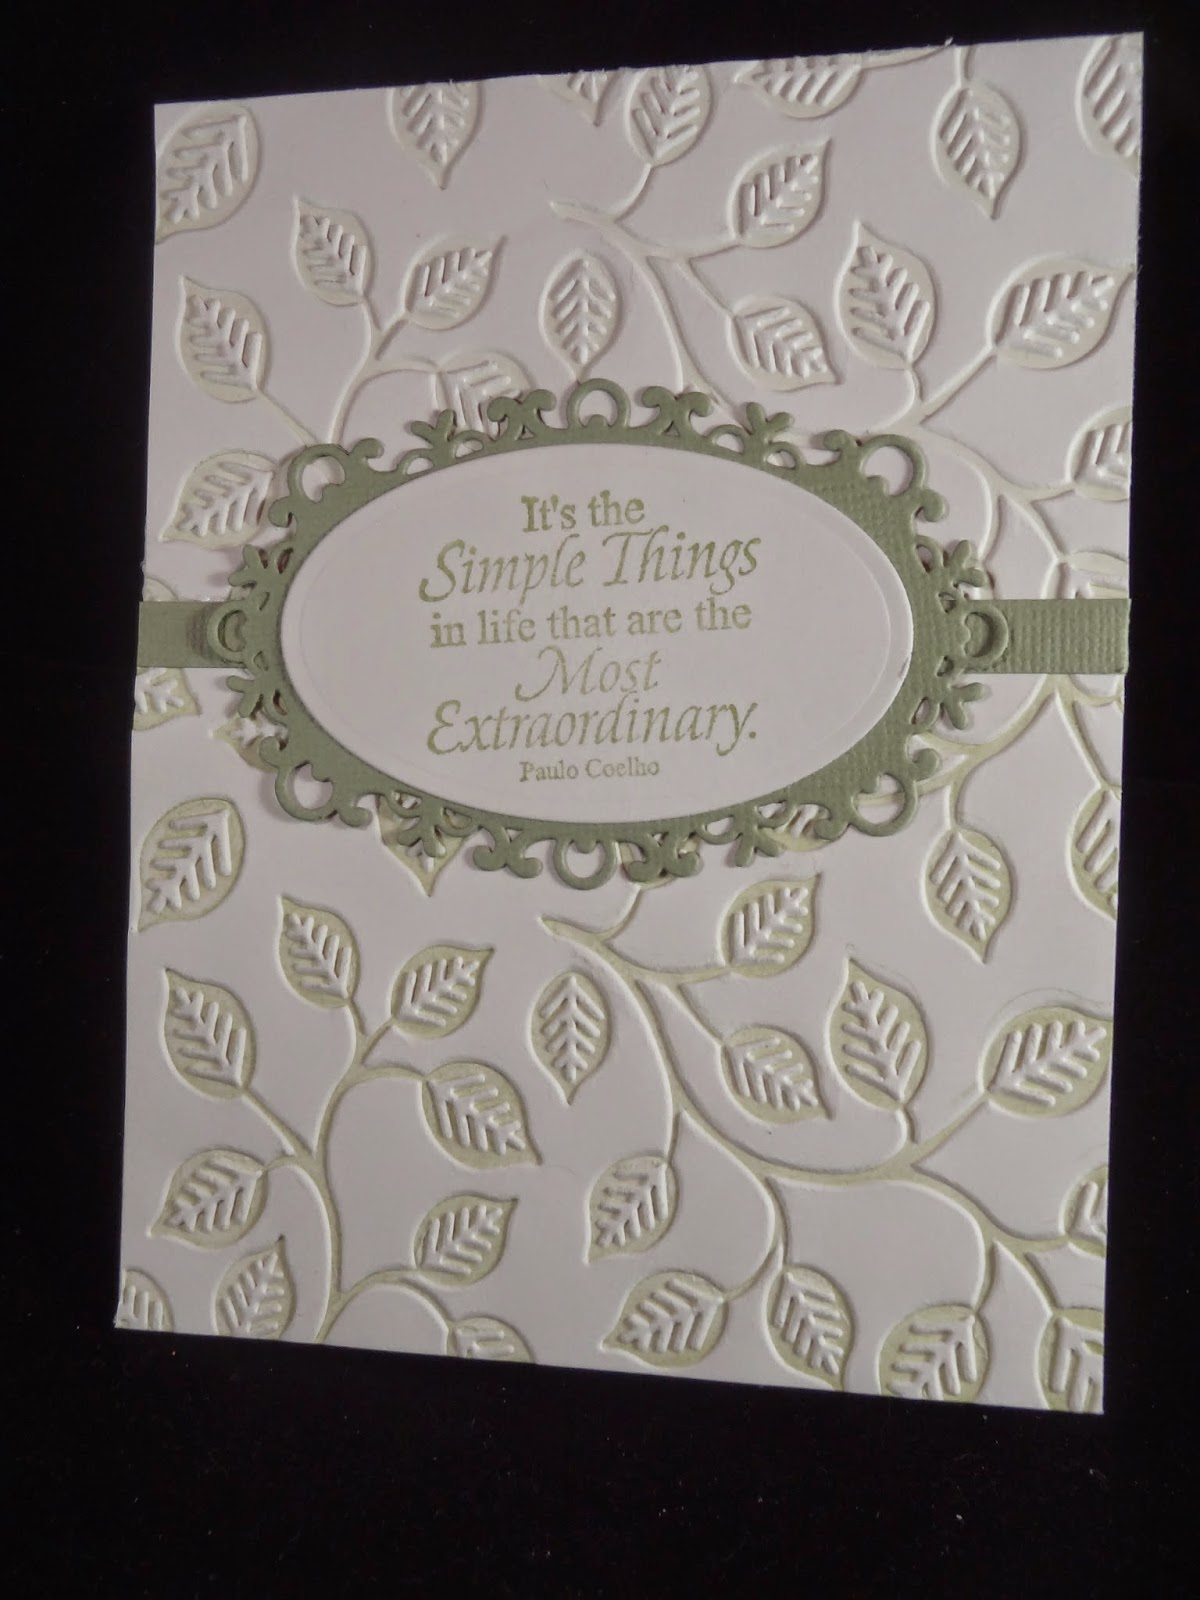
     I finally finished the card I did using color core paper and sanding it. I have 2 cards to share with you. One is really simple making it a fast and easy card to make in multiples so you have some on hand when you need  one. You can easily change the sentiment on the bottom on this card.
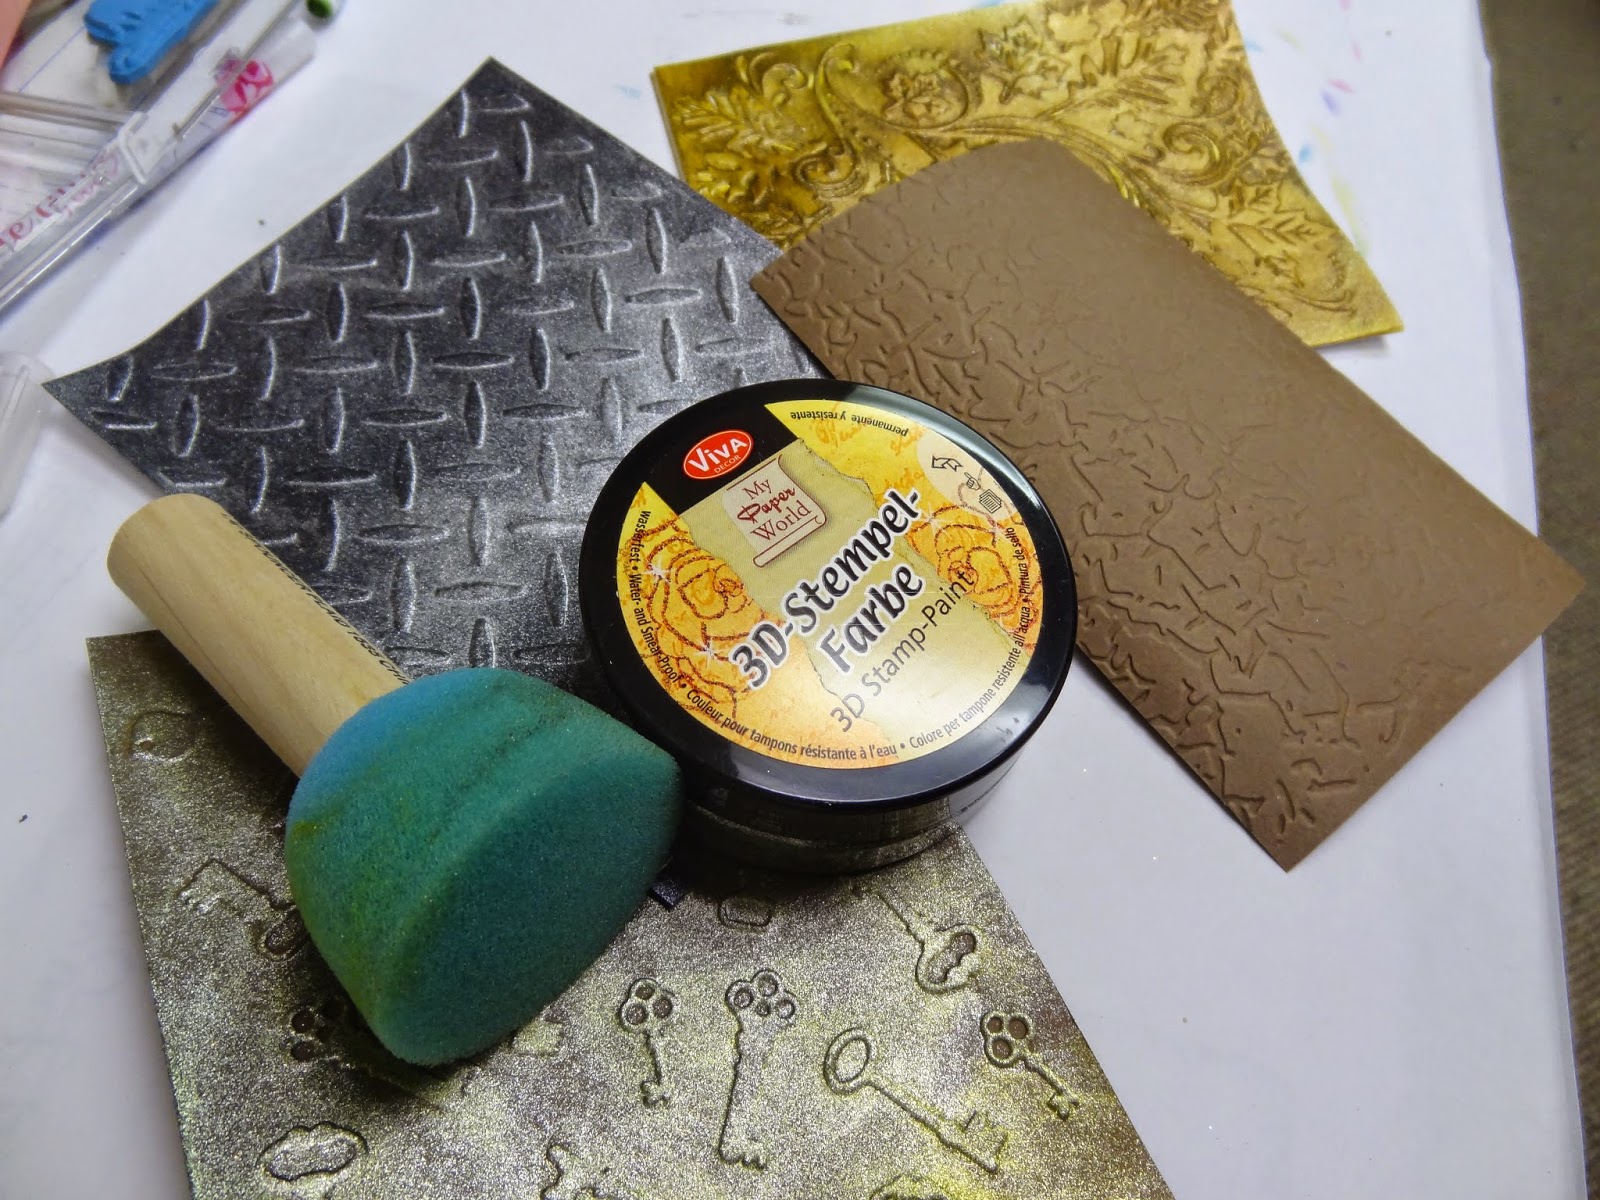
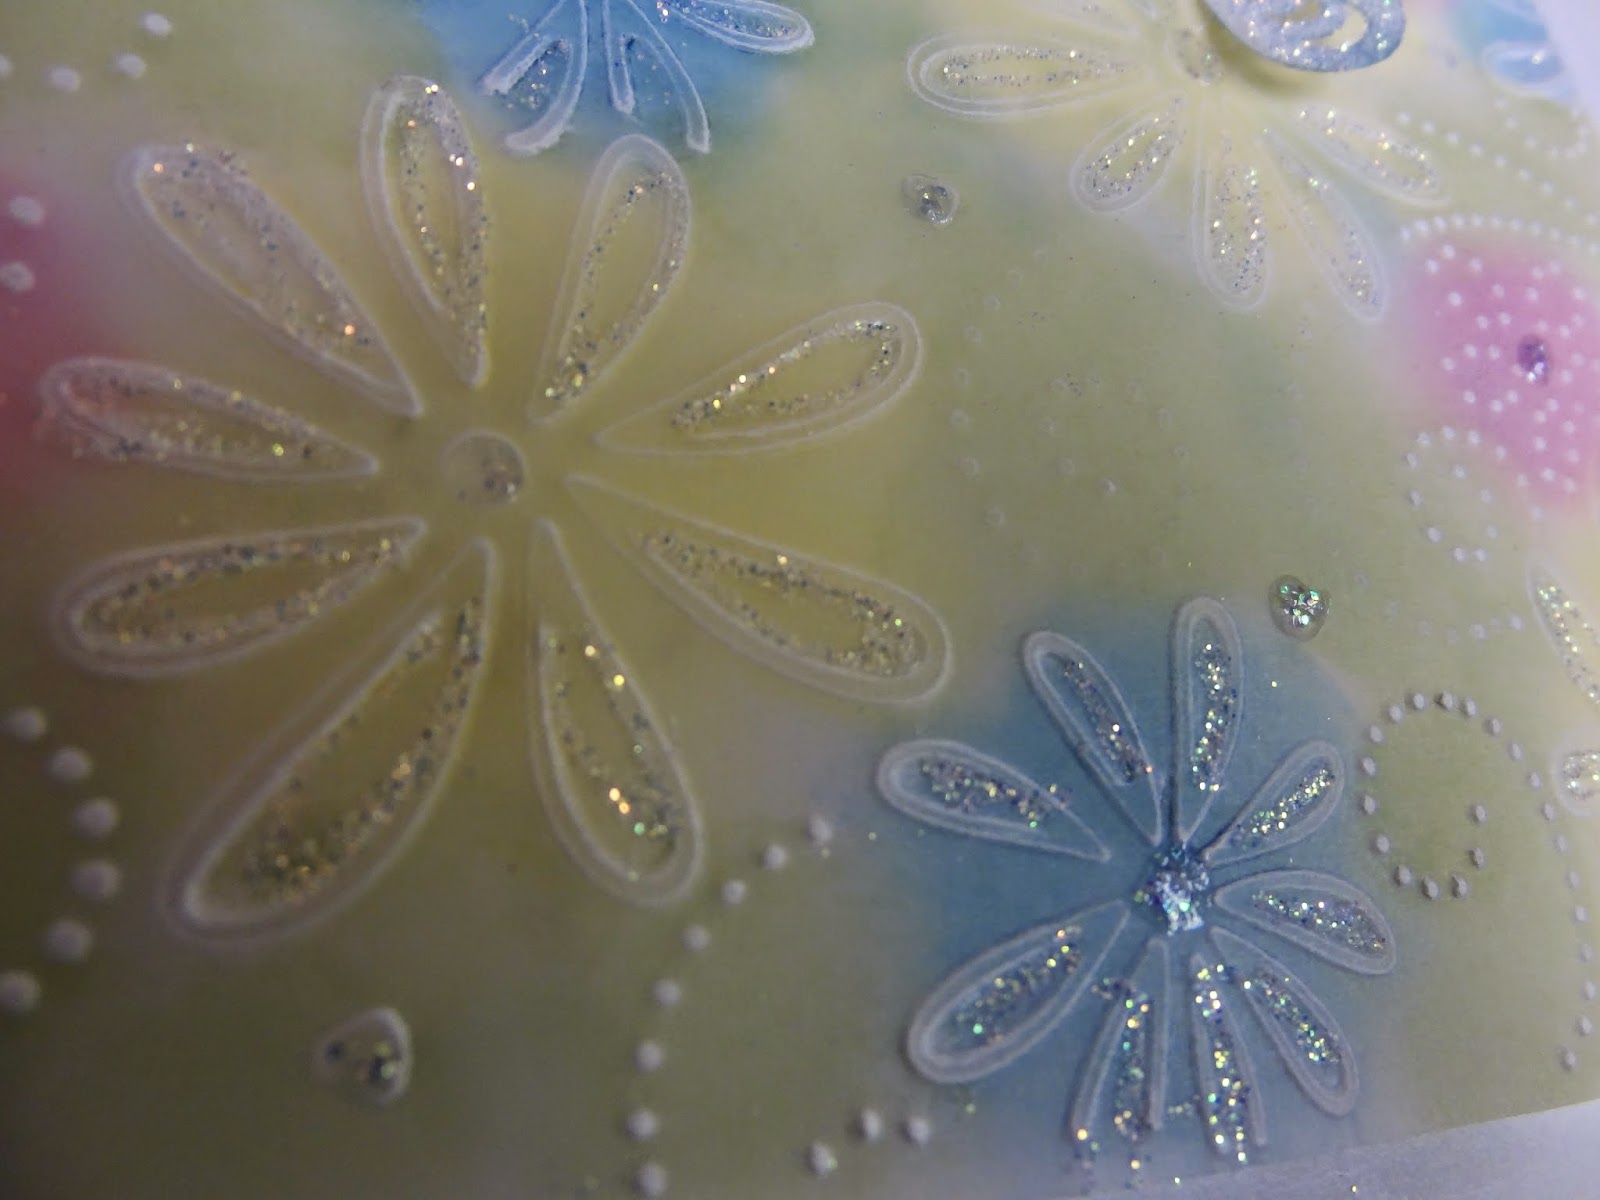
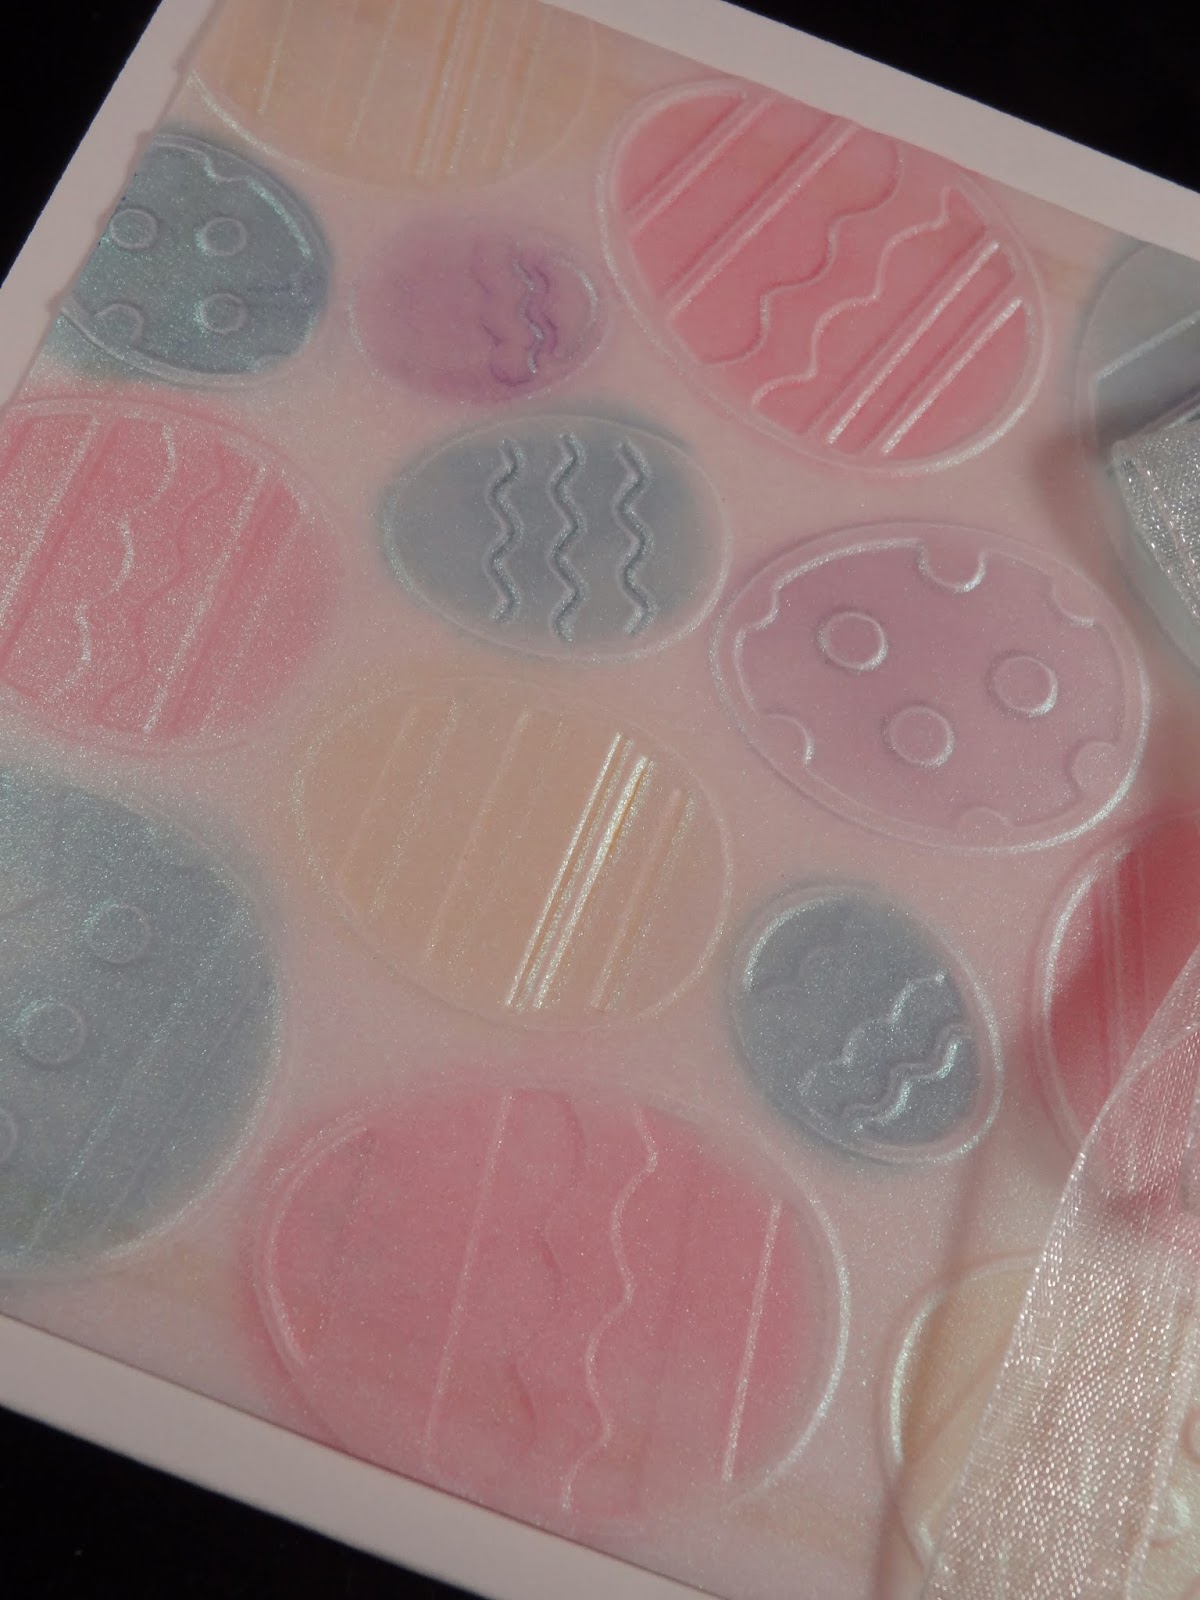
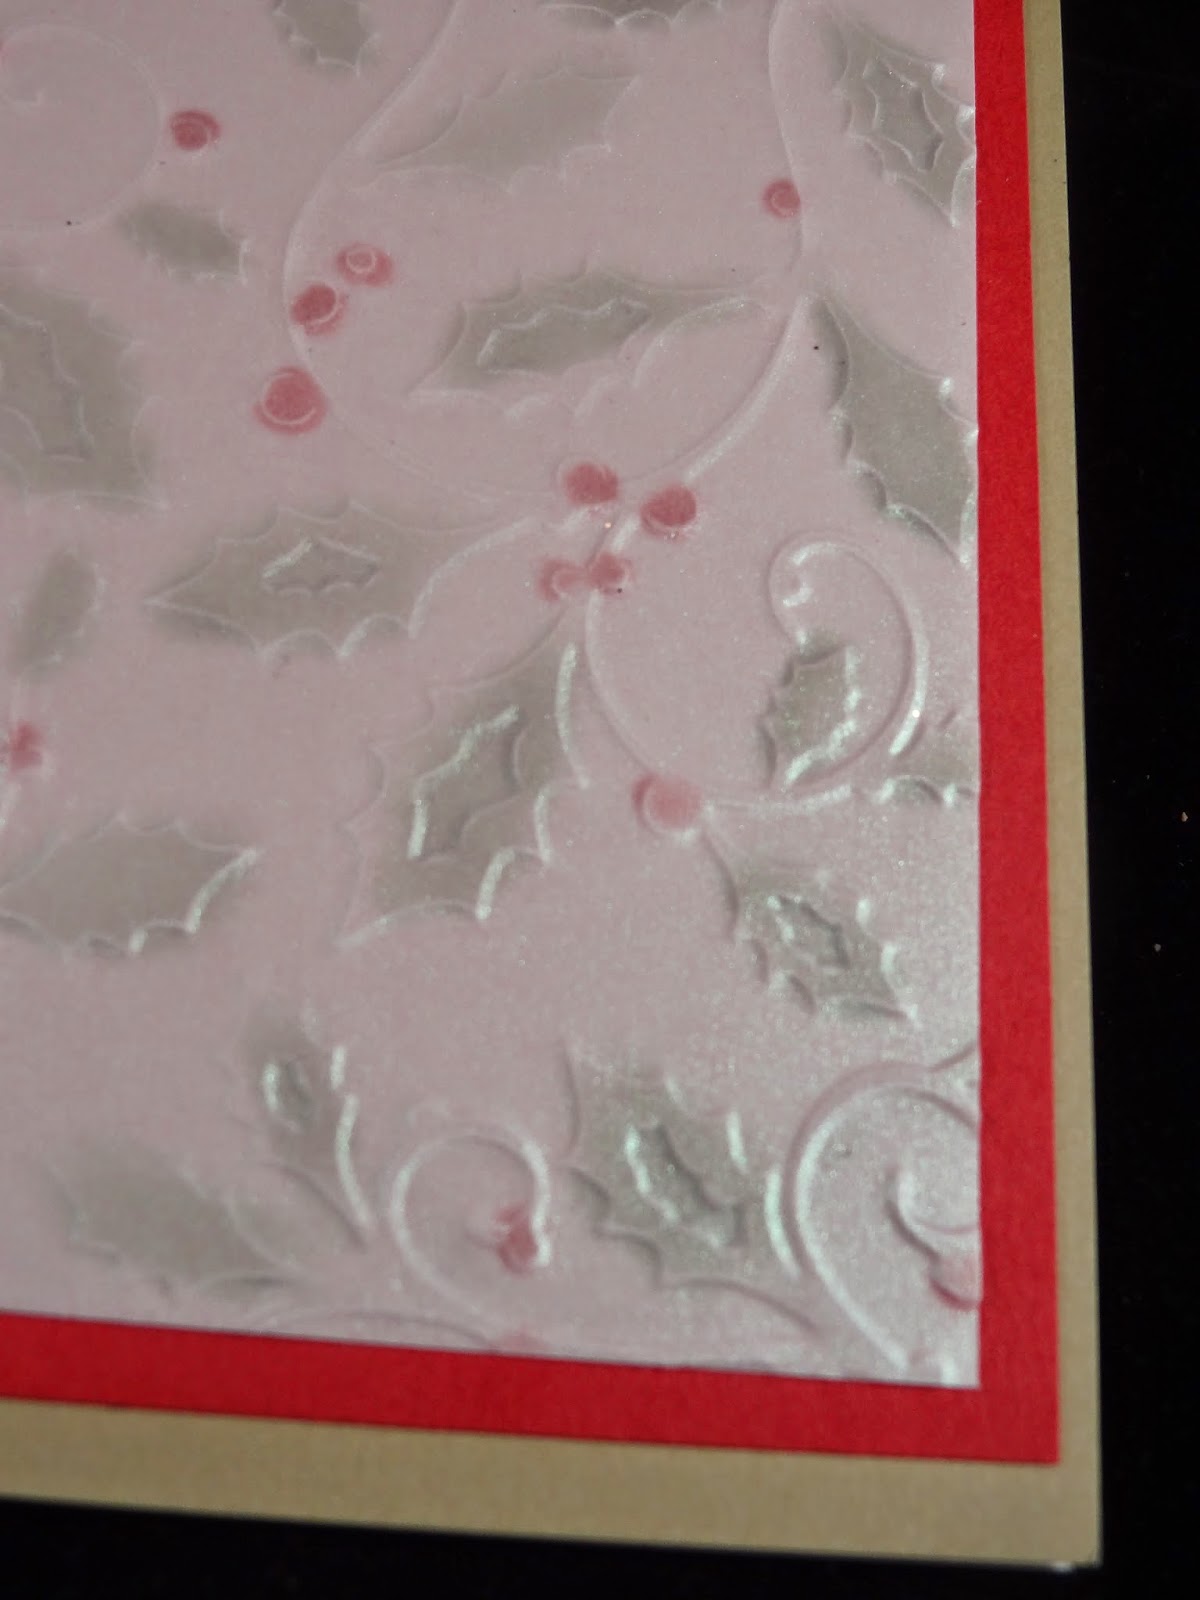
     For this technique I simply used a card stock called color core as it has a different color under the top color.The one I used in the samples is a pink core with a brown over the top. I cut my paper to fit in the embossing folder and make sure you have the top color on top so the embossed design will be raised up on the top color side. Run it through your machine and then pull the embossed paper out and get a sanding block ( ones from a nail supply place are really good and in expensive and because they are a long block with sand on all four sides makes them easy to hold on to and use.) Gently rub the sanding block on top to reveal the color underneath.The harder you sand the more of the background with show through so be careful not to get to aggressive with your sanding.

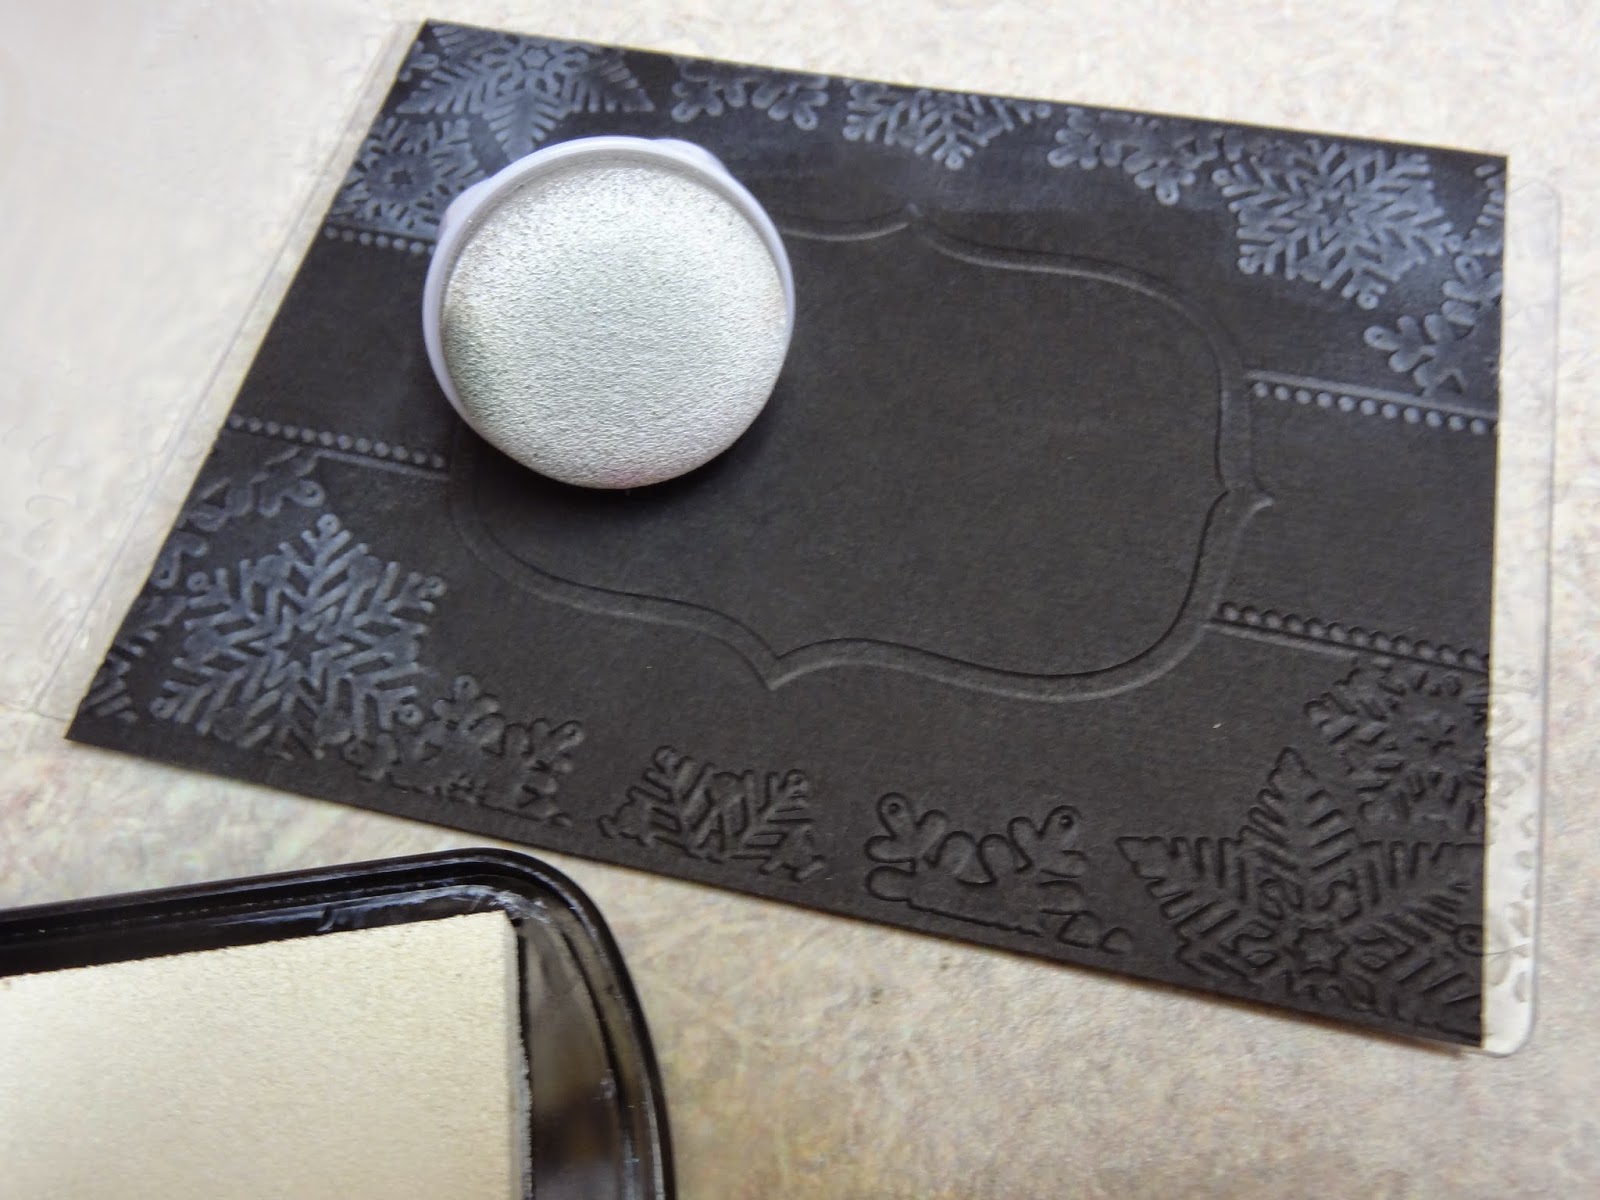
     It was brought to my attention about leaving the paper in the folder when sanding.This is a good thing to do and I forgot to mention it.Leaving it in the folder when sanding keeps it firmer and easier to sand the raised areas. Thank you Cheryl W. for the comment.
    
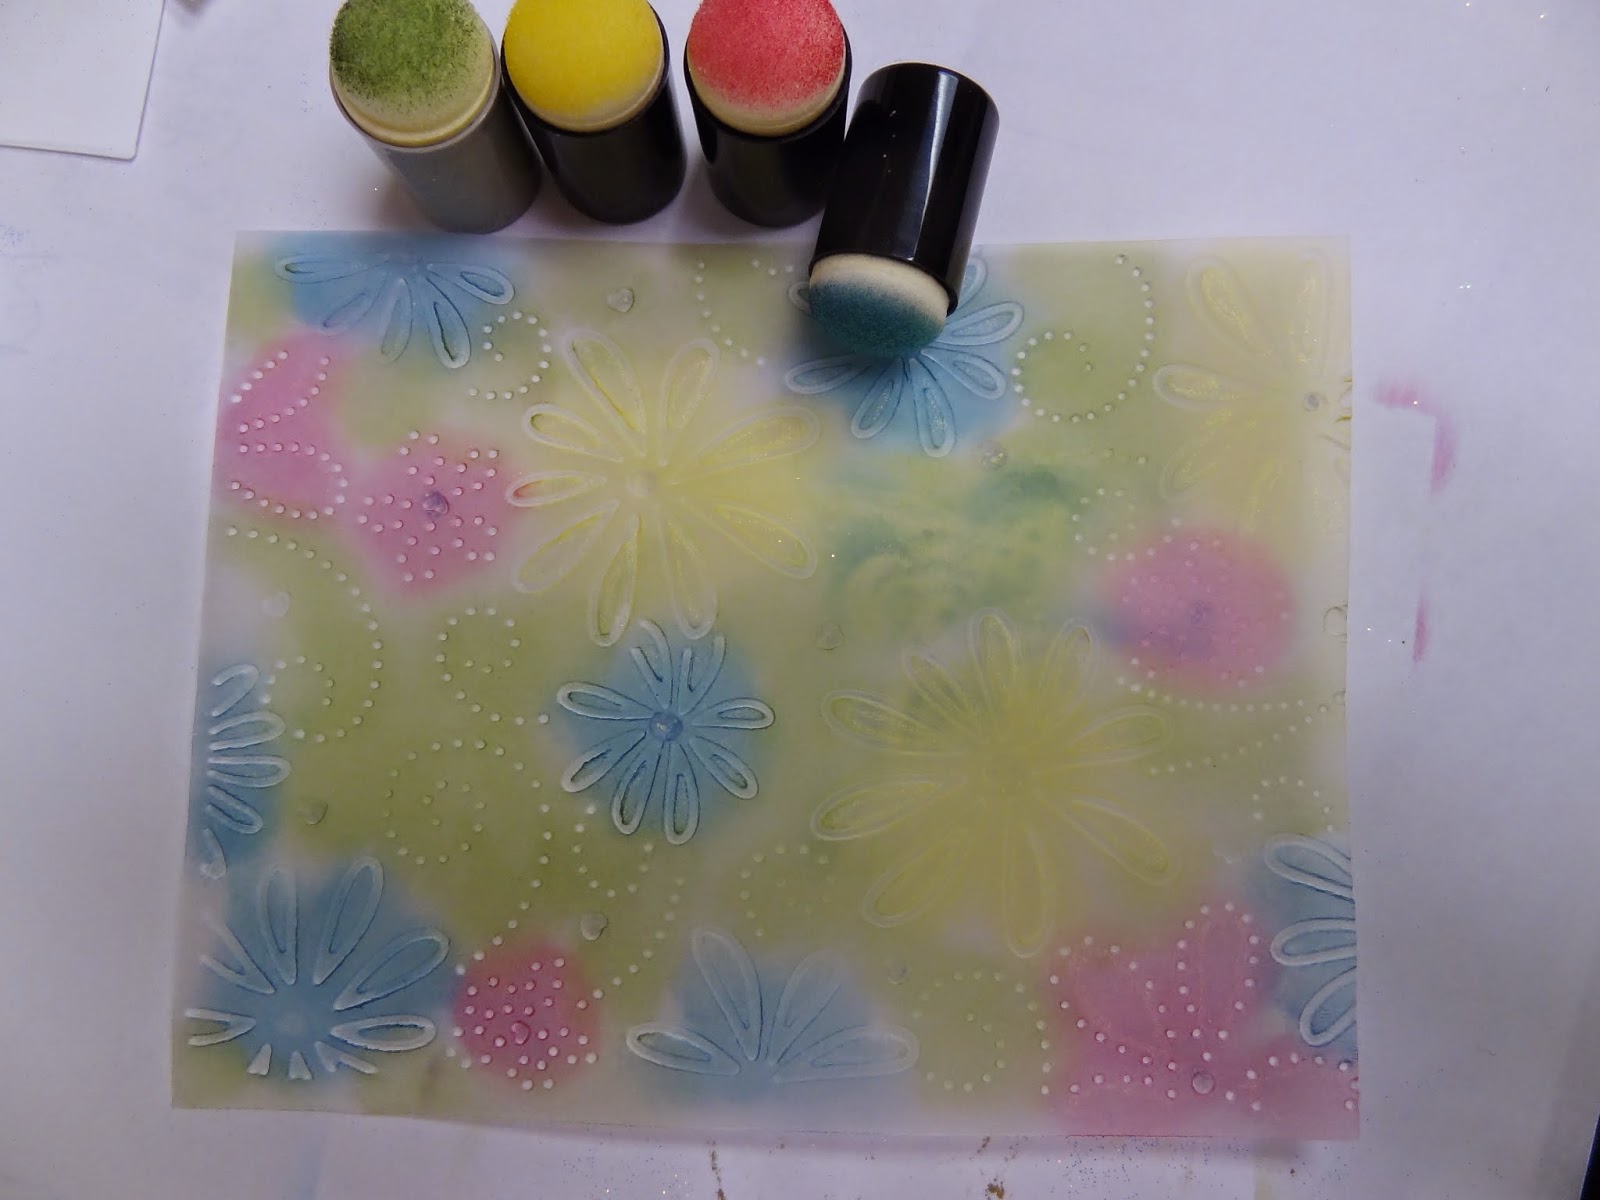
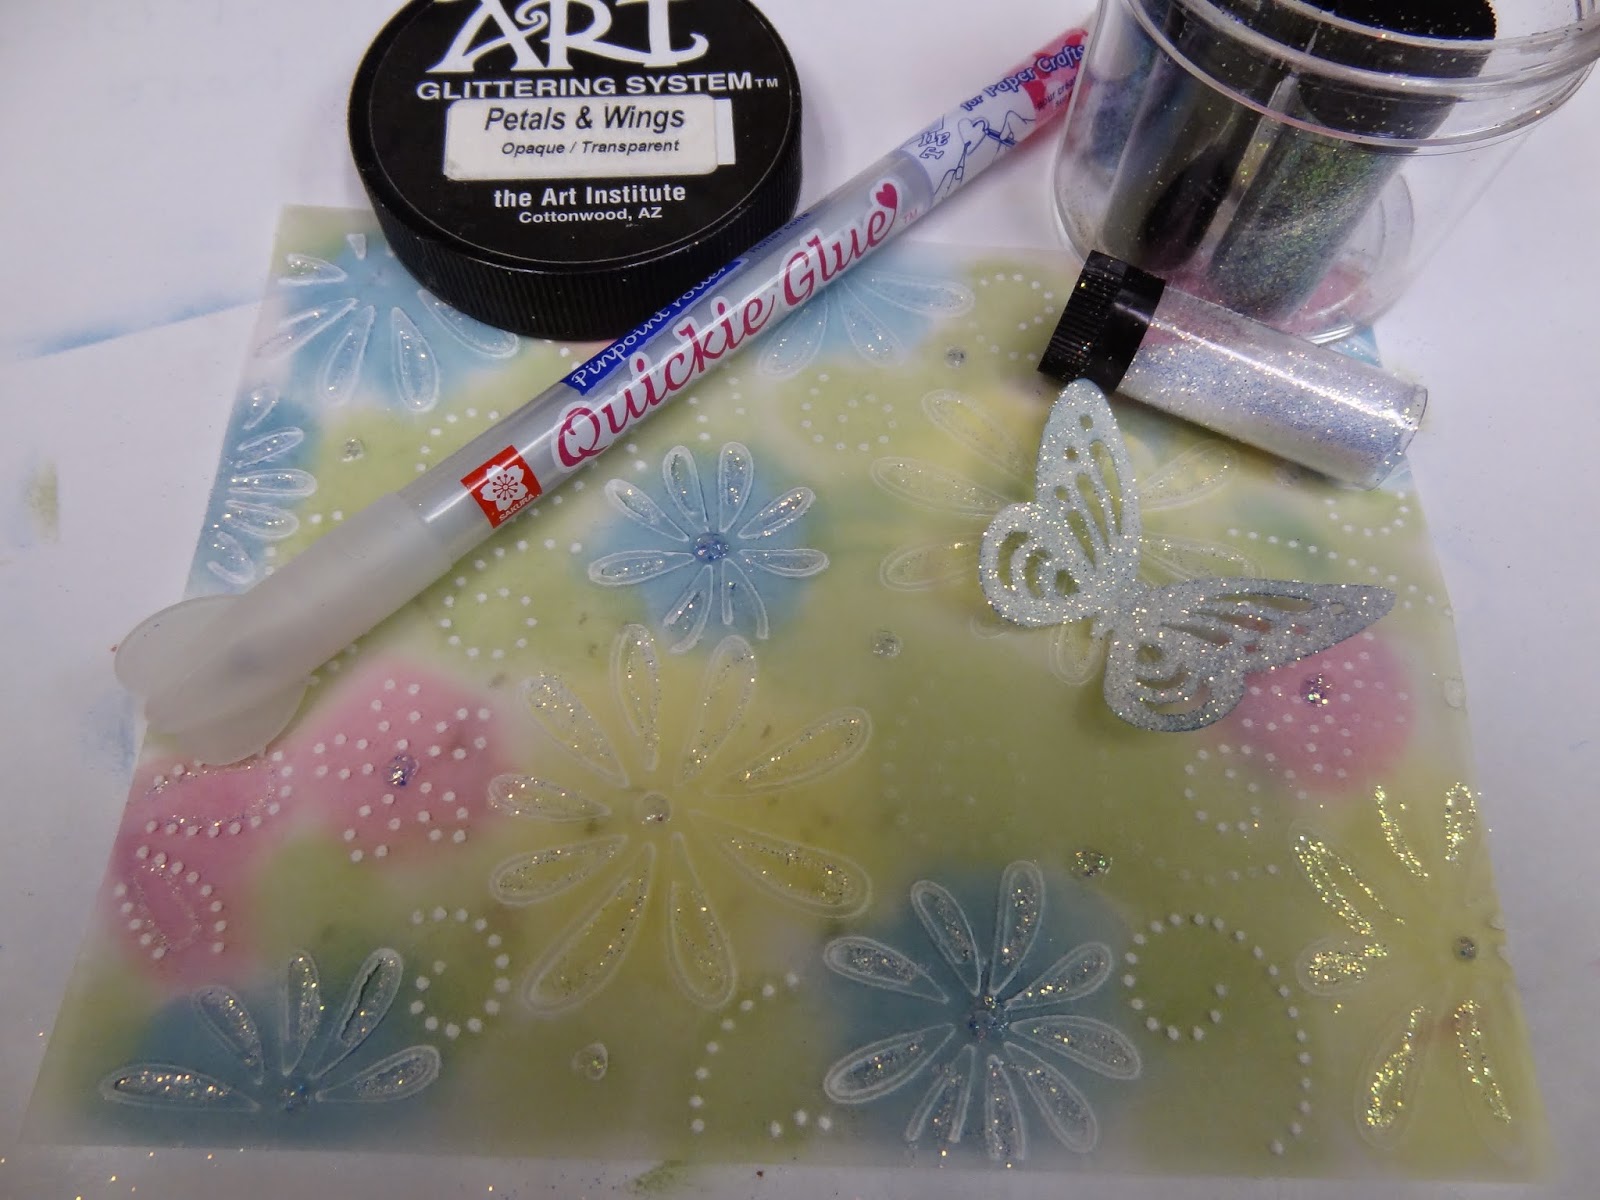
   I decided to die cut my sanded papers with spellbinder dies and then sanded the edges to help it blend better with my design.I found a pretty pink that went well with the color core paper and then added some embossing to it and used a sponge to gently add a touch of brown around the edges and surface to pull the colors together. I punched out 4 butterfly's ( tonic punch) 2 form pink and 2 from the color core paper.I added them to the finished card to pretty it up a bit.
   One thing I forgot to mention is I added some dots of pearl pen to the side embossed mat it added a really pretty touch.
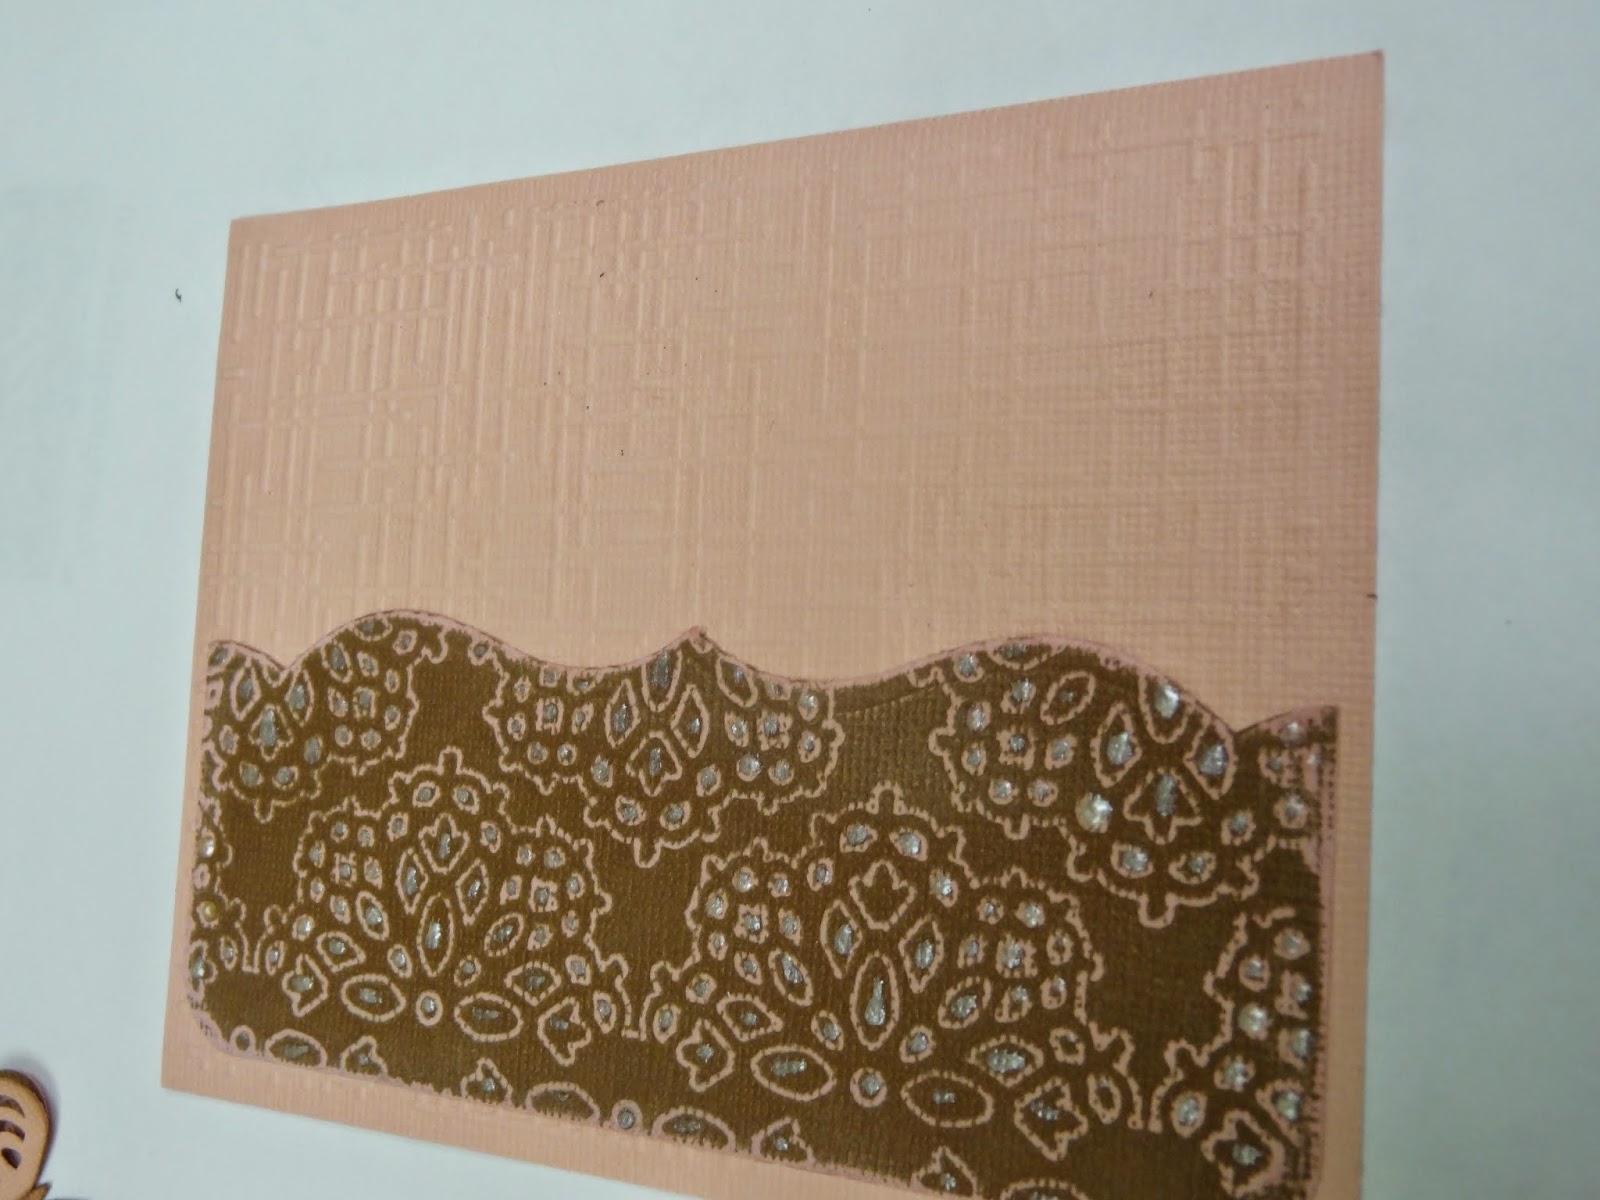
Notice the dots of pearl pen I added to the embossed design.

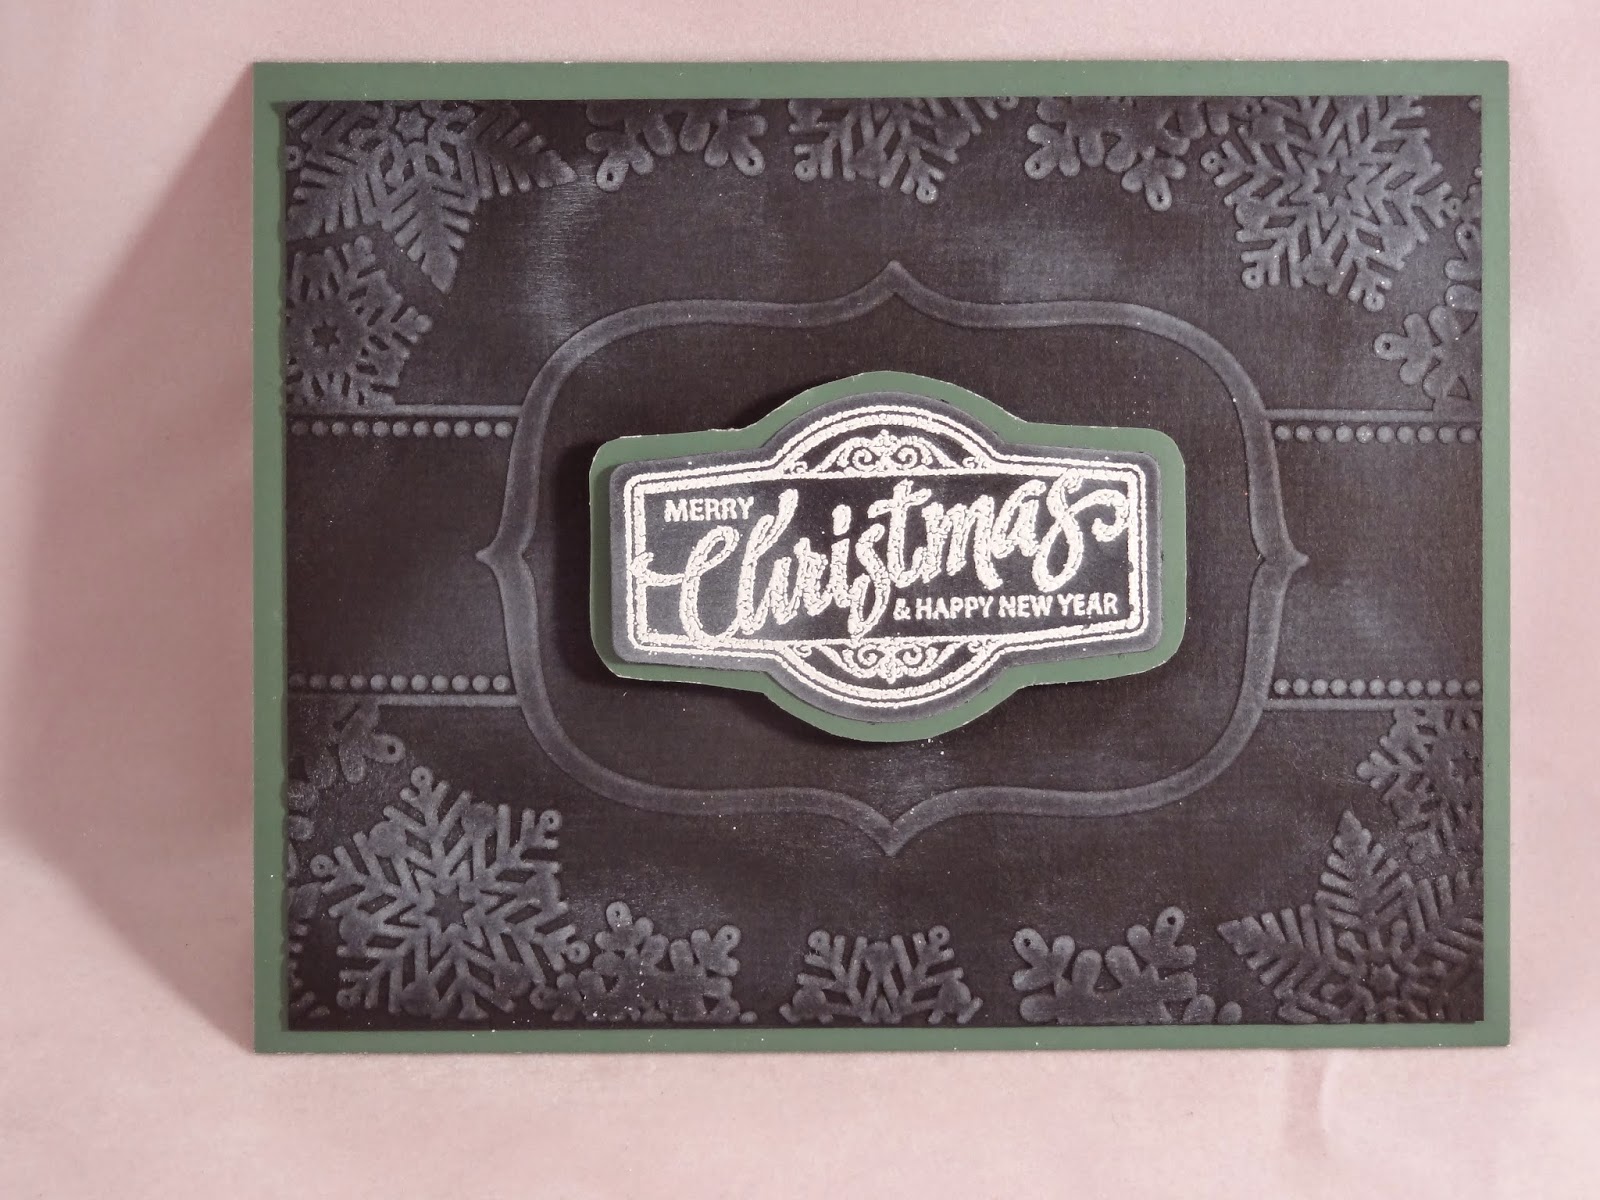
The die cut element I had embossed and sanded cut from color core paper. Remember to sand the edges of the piece after is is die cut.I also cut a brown mat to make the brown words pop as well as adding the sponged brown around the pink layer with the stamped saying.

This is the finished card. I love all of  the texture on this card it really gives it a warm feel.

Thanks for stopping in and learning along with me as I prepare for my up coming demo on ways to use your embossing folders.
Donna


" When I stand before God at the end of my life, I hope that I would not have a single bit of talent left, and I could say,"I used everything you gave me" Erma Bombeck Writer

Sunday, March 1, 2015

My embossing folder research project one

 
I wanted the embossing to be the star of the show so I just added a simple sentiment on a tag I die cut ,stamped and edged with a sponge.I then  added  a stripe of tulle that I fanned out a bit at the sides before attaching it to the back of the embossed card front. I also used foam dots under the tag to raise it up a bit and  

   Well I hope you ride along with me as I prepare to do a demonstration on ways to use embossing folders. I have been scouring the internet for ideas so here goes my first card using a technique where you emboss the card stock and then  rub ink over it to make the raised design stand out by accenting  the ink on the raised area. I chose to use a use the  Tim Holtz round mini ink blending tool.I thought it worked the best easy to use in a circular motion. You just need a light touch and you can go over it more to lay more ink on the raise surface to make the color darker. I used Momento ink for my sample. I did use a sponge and it was O.K. but not as much control over the amount of ink that went in the areas that were not embossed.
   Here are some pictures I took to help explain how I did this technique

Keep the paper in the folder when first going over so the folder keeps the paper from smashing down.


Use a soft touch and small circular motion to blend the ink on the raise design. You will need to reink as you go.

  • Thank you for stopping and learning along with me as I try new ways to use my embossing folders in my card making. I would love to hear any suggestions or ideas you might have. I will be sharing these with about 50 fellow paper crafter's the end of March. So I have lots of techniques to try and post.

Donna


" When I stand before God at the end of my life, I hope that I would not have a single bit of talent left, and I could say,"I used everything you gave me" Erma Bombeck Writer
 
Blog Designed by Rita of CoffeeShop